I have spent quite a lot of time outfitting each of my playboats; starting with my original 2016 Rockstar I then progressed to a plastic Jed and now a carbon Jed; I also have an Exo Rexy for river running. Each of these boats has come with slightly different stock outfitting and consequently I’ve had to overcome different outfitting challenges for each boat. I am now satisfied with the process I go through setting up a brand new boat from scratch (although it’s always an ongoing process) and would like to share that with you as I know that having a boat that is not outfitted properly (especially for freestyle) can be demoralising and results in slower progression. Right at the end of this guide I will focus on a plastic Pyranha Jed so that I can go into some specific details that are only really relevant for this boat, but the basic ideas can easily be applied to any type/style of kayak made of any material.

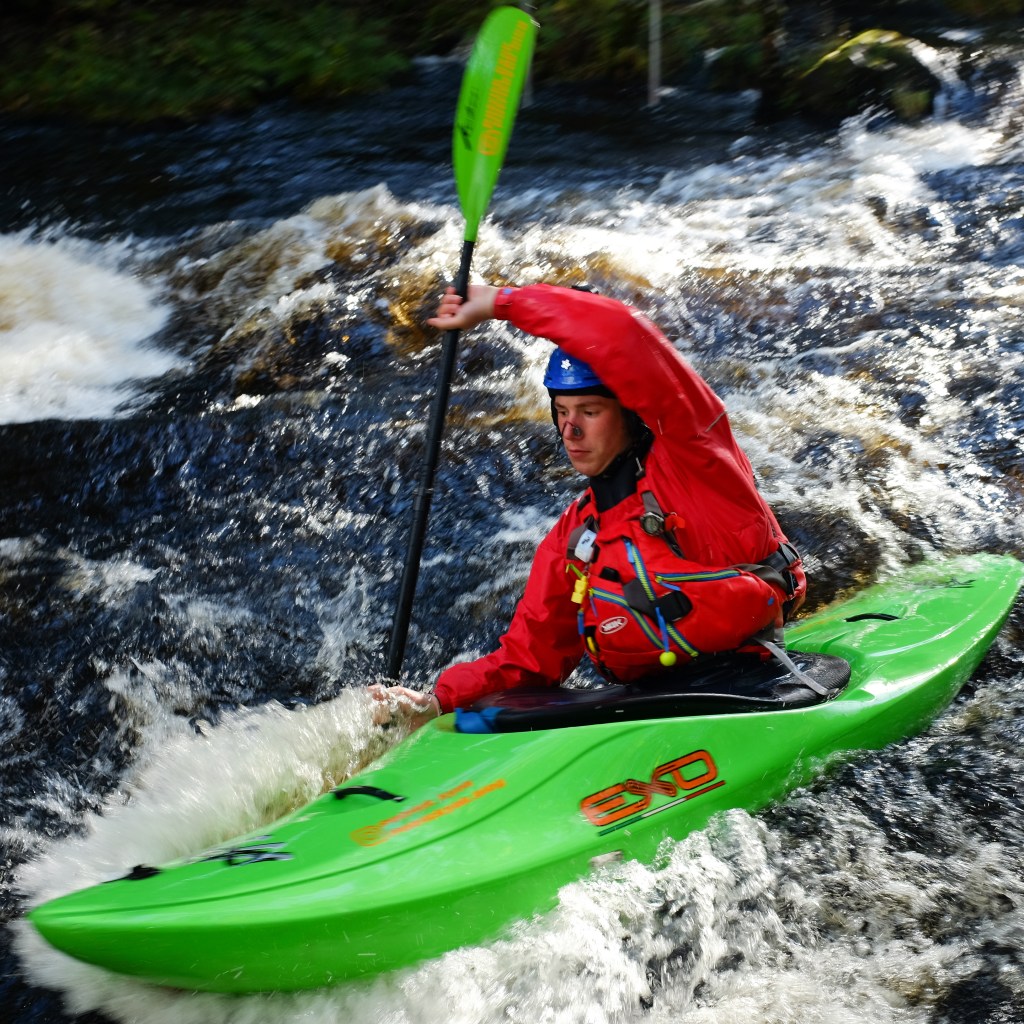
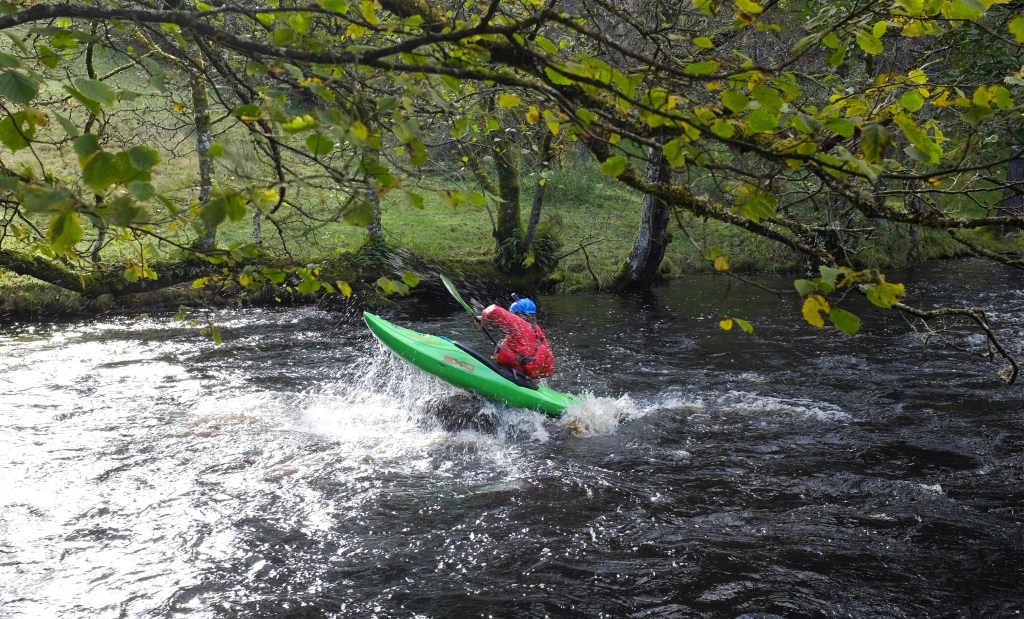
The very first thing that must be decided is seat position in the boat. Despite what you might think, seat position doesn’t actually determine where you sit in the boat – your back band and footrest do that, however having the seat in the correct positioning will not only make you more comfortable spending long amounts of time in the boat but will also make setting up the rest of the outfitting somewhat easier. The seat in a Pyranha Jed (and as far as I know most other kayaks) comes as stock in the centre of the boat and this is certainly the first position you should try but it is the trim of the boat that we are looking at. Different people recommend different things but I believe that for freestyle in a hole or normal river running you want your boat perfectly flat while sitting in the water (use the seam-line to judge), for river running in a slicey boat (like a Rexy or Ripper) or for big-wave freestyle it is generally better to have the seat all the way back. The reason behind this is that in a hole you want a playboat to be balanced around the centre of rotation, sitting to far forwards or backwards will negatively affect performance by placing too much volume and leverage at the front or back making front or back loops more difficult (and consequently affecting lunar orbits or mcnastys etc) and slowing down the rotation of cartwheels or trickys because one end will be easier to put down and the other will need more force which creates an unbalancing stop-start motion. When river running in a full volume kayak having your weight at the centre helps when boofing or running drops, if your weight is too far forward it will be harder to lift the bow over a feature and the front of the boat will want to plow into the foampile and get recirculated however sitting too far back may make it easier to boof but will consequently also make it easier to catch your stern after the boof – as the green water hits the stern, having your centre of gravity too far back will encourage the boat to get vertical and flip on top of you back into the feature. We don’t want that. Unless you want to submit a beater-reel to kayaksession in which case go to it. In a slicey river running kayak like an Exo Rexy having the seat all the way back is actually a benefit unlike for a full volume creeker. This is because the point of a Rexy (or any slicey-stern kayak) is to get vertical, tailey and pirouette all over the place, having your centre of gravity as far back as possible makes it considerably easier to get your boat vertical because there’s less boat behind you to get under the water the further back you get, furthermore the bow is already lifted slightly because there is less weight on the bow which means the boat is considerably more responsive and agile when it comes to turning and changing direction because the boat is already doing a mini tailey (and of course boofing is made easier with a lighter front but a strong boof recovery stroke is required to stop the boat endering after any powerful features). For big-wave freestyle (I have on authority from Bren) having the seat all the way back gives you some advantages, the most obvious is that it makes it easier to lift the bow really high out of the water when doing huge airscrews or pan-ams and the second reason is that it makes the actually take off a bit easier. Each to their own.
The second step is to adjust how high you are sitting in the kayak. In my plastic and carbon Jed’s I sit about 1cm higher than the positioning of the stock seat – this is really simple to do, just use closed-cell foam (comes as stock with the Pyranha outfitting pack) and add sheets until you feel happy with how high you are. My advice would be to try and get the top of your hips in line with or just over the top of the cockpit rim (this depends on the boat because different manufacturers have different sizes of cockpit rim), initially this will make your boat slightly harder to roll and you will certainly feel much more unstable but in the long run it will beneficial: the boat will feel more responsive and you will have more leverage to throw your tricks with. In a full-volume or slicey kayak (like in my Rexy) I leave the seat as it is, there’s no real need to make yourself more unstable; when creeking you don’t need a front-to-back leverage advantage and in a slicey boat the edges tend to already be tippy enough without the need to accentuate those characteristics.
Now that your boat’s trim is perfect and you’re sitting high enough the next step is to adjust your footblock. Some people prefer to use a foam block, I prefer to use Jackson Happy Feet when freestyling (I know, heresy in a Pyranha) and of course in a river-runner there’s just a footplate. Effectively you want to be sitting square on your seat with the backband as tight as you like it and to be able to push against your footblock without it moving or having any moment where you aren’t connected. This is really easy to do in most river-runners just by using the screw and rail system, if you use a foam block then you’ll have to cut it down to size (making sure not to cut off too much). When I set up my Happy Feet I do 3 things: first I cut of the back part of the airbag (if you need to inflate it add foam behind instead because otherwise it’s impossible to apply even pressure from both feet on a bag of air), second I inflate the bag and make sure it’s placed symmetrically in the bow of my boat so that my feet are supported equally and third, I sit in the boat, tighten the backband and make sure i’m comfortable before I suck all of the air out (and you must sure you get all of otherwise you’ll have to repeat this entire process every time you want to use your kayak). The main reason I prefer Happy Feet when freestyling is that I really kick out hard and the Happy Feet (which are moulded around the shape of my feet) stay in place, consequently my toes and heels don’t rub against the inside of my boat and I can stay on the water longer without getting rubs.
Final outfitting steps: hip pads and backband. Different people like having their hip pads in different places, it’s worth noting that normally if your leg or foot goes numb while in a boat it’s because one of your hip pads is either too tight or pressing too low down (into a vein) and cutting off circulation. This step is really trial and error (reminder: foam compresses so add a bit too much and with use it’ll shrink slightly) so persevere until it feels snug. Finally the back band has multiple elastic toggles attaching it to the rear of the cockpit rim. These are to adjust the angle at which the back backband sits, if you find the back band slipping under you then an easy way to fix it is to tighten the top elastic and loosen the bottom so that it doesn’t want to do that. Once this is done that’s pretty much all the basic outfitting that you need to do for a brand new boat.
These final tips are intended specifically for a plastic Pyranha Jed, you may however find some inspiration for use in your own playboats so stick around a while longer. I found that I was getting rubs on the inside/top of my thigh while playboating. This was not my leg moving around and rubbing as it turned out, instead Pyranha use two plastic screw-like bits to hold the padding in place and one of these (on each leg) was grinding against me every time I did a trick. I had a similar problem in my 2016 Rockstar as well. Tightening them didn’t seem to make a difference so instead I just removed the offending screw-pieces and the padding still stays in place due to the single remaining screw and pressure from my thigh, I just don’t get rubs anymore. Next, if you look underneath the cockpit rim on the middle of the boat you will notice (slightly towards the front) a screw which holds the thigh brace assembly sticking out; this prevented my spraydeck from sealing against the cockpit properly and resulted in litres of water entering my boat over only about 20 mins. Seeing as 2 screws hold each thigh assembly in place (one offending screw and one from above which is fine) I undid the cockpit screw on both sides and yet again the thigh assembly stayed in place perfectly. I then used JB marine weld (pictured below) to fill up the hole and then sanded it down on the outside so that my spraydeck can finally fit flush with the cockpit rim. My next complaint (also to do with leaking) was that various screws kept undoing themselves and allowing water in. This was a fairly simple fix: I undid all of the screws on the outside of my boat and added loctite and re-tightened them so that they would stay in place, I then recommend adding a blob of hot glue over each fitting to make absolutely sure no water gets in (might be overkill but you may as well and hot glue is easy to peel off even when it’s set). My final modification was to add a sheet of foam around both of the thigh/knee pads because my knee cap was sort of half-on half-off when I had it positioned where I wanted on my thigh. This additional foam just protected my knee from the hard plastic and made the boat much more comfortable. For the record, the foam sheet that comes with the Jed is really good but the adhesive is terrible so I would advise using the JB marine weld for that as well. That’s it from me folks, and on that bombshell – good night.


One response to “How To Outfit A New Kayak”
[…] https://patrickyak.blog/2019/11/06/how-to-outfit-a-new-kayak/ […]
LikeLike