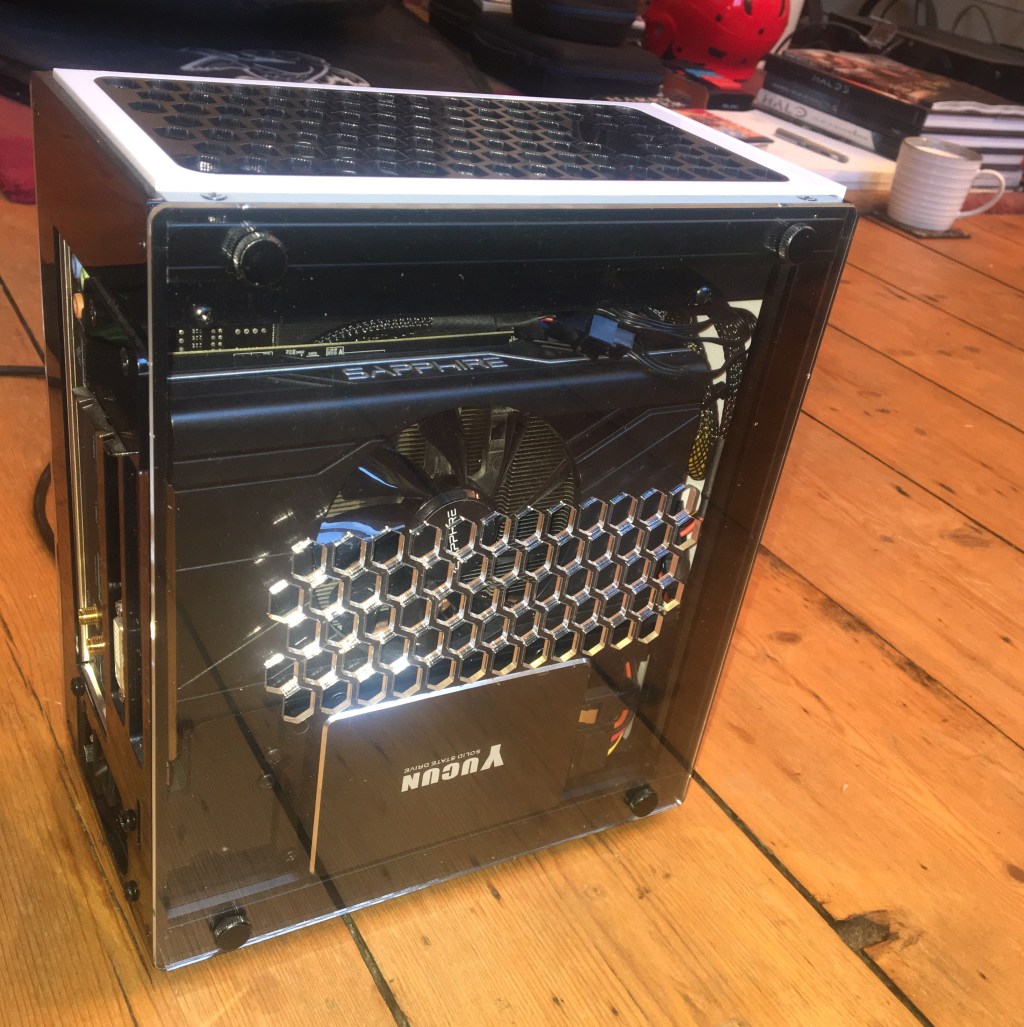
Today I’ll be continuing on from my last post which went over basic settings and programs that I use to improve my PC’s gaming performance, but this time I’ll be going into a bit more depth and will be talking about various settings such as GPU clock speed, voltage and memory timings. Before we start it’s important to note that not all GPUs can have the following settings changed, and if they can, the exact values will be different depending on your model of graphics card (and even then results may vary). I have a Sapphire PULSE RX570 ITX 4G graphics card and, as a result, will be using the AMD Radeon software for most of this – these settings will be available in different forms if you use a GPU made by another manufacturer or you chose to use third-party software like MSI Afterburner. While the chances of damaging anything are very low nowadays due to better built-in safeguards, changing these settings technically isn’t 100% safe so anything you do is at your own risk.
Before we begin, it’s important to have a baseline to compare any changes against – you want to know how much of a difference (if any) your efforts have made. To do this you need to have access to multiple stress tests (programs that stress your GPU) and some monitoring software to see how your computer handles during these tests. I would recommend that you download Unigine Heaven and Unigine Valley as two good free stress tests, then MSI Afterburner to monitor temperatures, core clocks and FPS. Make a table and run at least 3 stress tests (you can use a graphically demanding game as a stress test) while monitoring FPS and temperature then record your findings in the table. Temperature and FPS will vary quite a lot depending on your PC’s specs so you should look up recommended operating temperatures etc to make sure that your computer is running safely both now and after any changes.

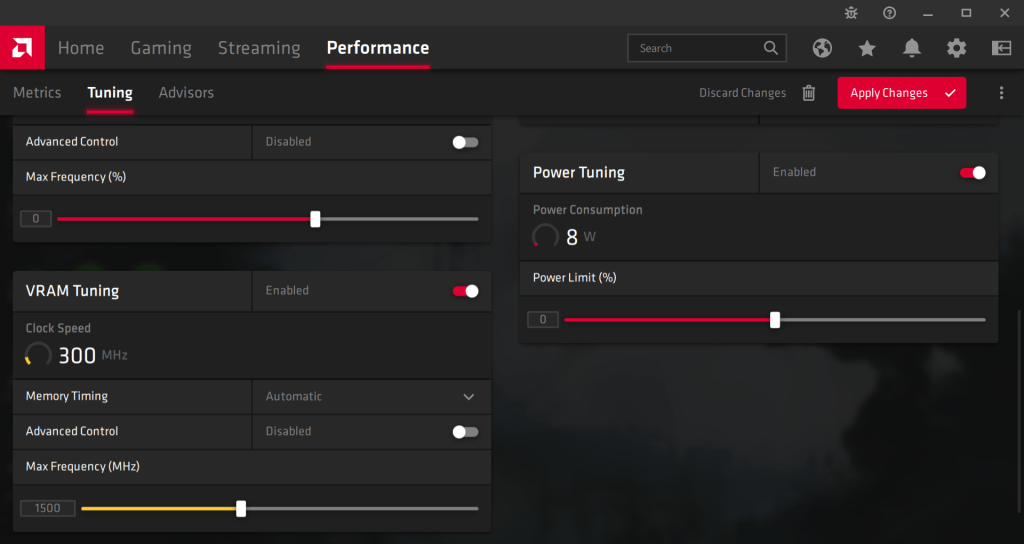
Let’s start with adjusting the power limit. To access this and all of the following settings simply right click on the desktop (if you have an AMD GPU) and select the Radeon software, go to “performance” then “tuning” and enable all changes. The power limit will be set 0 as standard and can normally be increased to around 20-30 (%). By increasing this value you are allowing the GPU to draw more power if and when it needs to, it won’t automatically mean higher temperatures or a higher average power draw, but what it will do is prevent fluctuations in core clock speed and allow the GPU to maintain it’s highest clock frequency which will lead to increased performance; power limit should be raised when overclocking. The recommended setting for my graphics card is 30 (%) but it will vary by each GPU.
Now lets move on to overclocking. When I say ‘overclocking’ I mean increasing the GPU’s core clock frequency to higher than the factory setting. It seems obvious if you think about it but not all pieces of electronics are created equal, some have more potential than others and some are just duds. The factory settings are designed to work across the entire batch, which means that they’ll hold back those (in this case GPUs) which have the potential to perform at a higher level. Overclocking enables you to take advantage of all the performance you’ve paid for. The higher you overclock your GPU the more processing power you can use in turn meaning that files will render faster and games will run more smoothly.
To overclock your GPU you want to increase the State 7 clock frequency (the clock frequency under load) in small increments, each time you increase it you need to run your stress tests to make sure that the computer is stable. If you experience crashes, screen flickering or any other abnormal behaviour decrease the clock frequency to the last stable setting, if everything is fine then increase it in small increments until you get a crash or screen artefact and then decrease it slightly – this will be your highest stable setting. 1400 MHz is a good clock for my GPU, any higher tends to yield negligible performance gains while decreasing reliability so when I found that this frequency was stable I decided to leave it there.
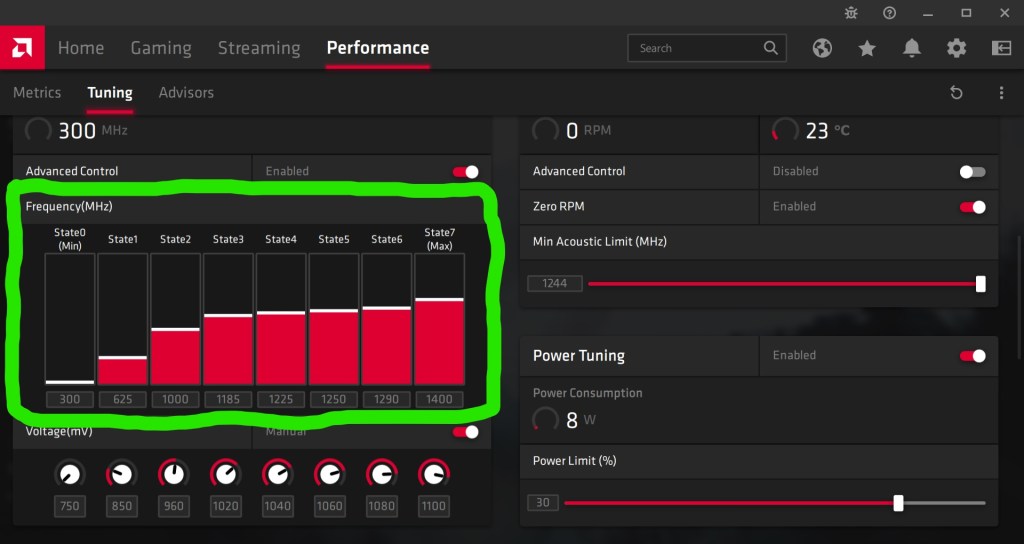
After overclocking to your desired level you now want to experiment with undervolting. This is the process of lowering the voltage fed to the GPU. As mentioned previously most graphics cards will be sold with higher operating voltages that necessary, this leads to increased power consumption and temperatures, neither of which we want. By undervolting we can decrease power consumption and temperatures – depending on the GPU, sometimes by quite a lot. Unlike with overlocking where we just adjust the State 7 clock frequency, when undervolting we need to make sure that States 7-0 decrease in voltage. Essentially make sure that each State is 20-50 mV lower than the last (the actual difference isn’t particularly important as the middle states are barely used other than when the computer transitions between being idle and under load). Essentially carry out the opposite process to overclocking – decrease the voltage in small increments (stress testing and recording the results each time) until you get a crash or screen artefact, then raise it to the last stable setting. It turns out that my card isn’t able to run on a very low voltage (at least not after overclocking it) so there was almost no temperature decrease, but you don’t know until you try and undervolting may have a much more noticeable effect on your card (even if you also have an RX570).

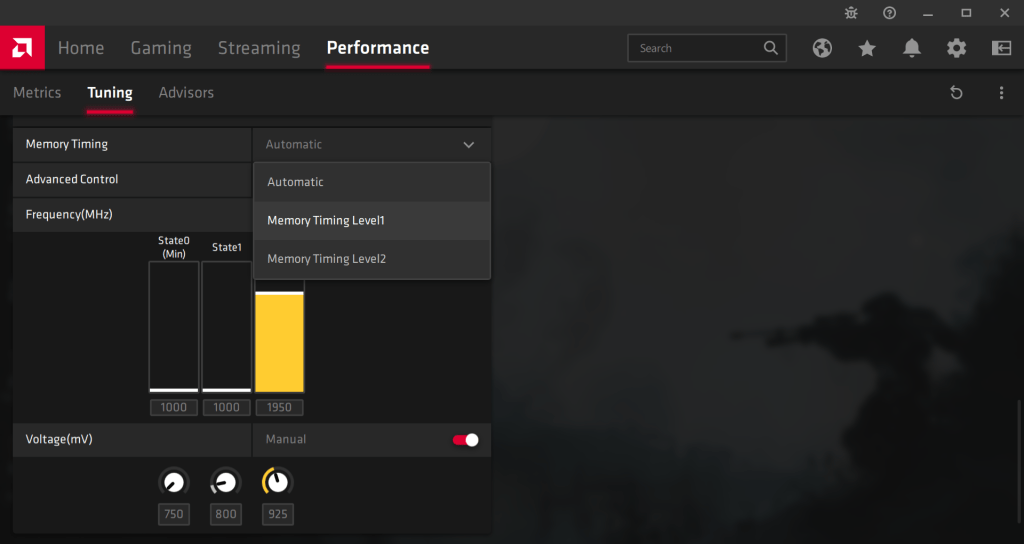
Finally we’re going to be talking about VRAM timings. I was going to go into the process of overclocking the VRAM (which is the same as overclocking the core) but I found that the performance increase was barely noticeable and, having done a little extra research, this tends to be the case as overclocking the VRAM can cause an increase in latency which will reduce performance and counteract any performance gains from the overclock. You can try it yourself if you want but I found that messing with the VRAM timings was much less complicated and had a much more noticeable impact. In the Radeon software I have the options of “Automatic,””Level 1,” and “Level 2” VRAM timings, each being more aggressive than the last; automatic is obviously stable as it’s the factory default. Try changing this to Level 1 and then carry out all of your stress tests, if this works without any issues then try Level 2. If you do experience issues then go back to the previous stable setting (for me Level 2 appeared stable but then led to crashes after a few hours so I lowered it back to Level 1).
I hope you enjoyed this article and found it useful. I achieved a solid 4-17 FPS gain (shown below) without any increase in temperature and the less graphically demanding a game is the more of a boost you will notice. If you’d like to be emailed next time I post be sure to sign up below!

